Logo Design Process
You Need a Logo Designed? Where Do You Start?
Thank you for hiring us to create your company’s logo design! We’re excited to work on your project!
Step 1: The Questionnaire
- Company Name: (Spelled exactly as you want it to appear on your logo, including slogan if applicable)
- How would you like to be perceived?
- Which logos do you like and why? (Very important: Attach examples logos you like)
- What are your preferred colors?
- What is your orientation and shape preference? (horizontal, vertical, square, round, seal,…)
- What are your preferred fonts? (Serif, ie. Times New Roman or Sans Serif, ie. Arial)
- Describe product or service you offer
- What keywords best describe your business?
- Who are your main competitors? Please list their websites if possible and/or include their logos
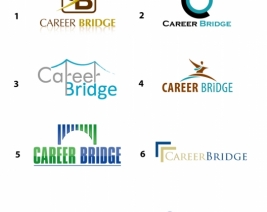
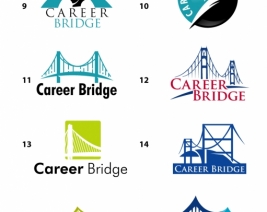
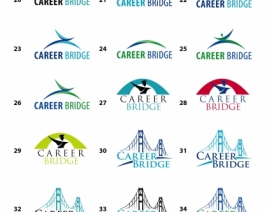
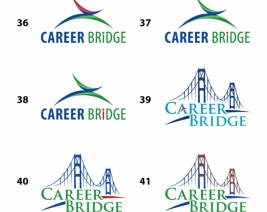
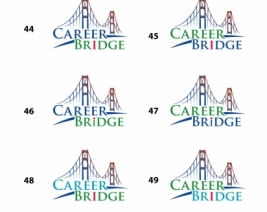
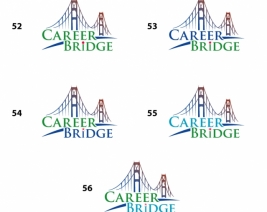
Based on your answers our team of designers will put together 6 to 8 logos with your design requirements. Within 2 to 5 days, you will receive a jpg with all the logos on one page. Similar to the examples below. Click on the logo designs to browse:
Step 2: Review Your First Batch of Logos and Provide Feedback
Once you’ve had the chance to review the first designs, we will need your feedback on what you like and don’t like so we can provide you with new logos. The best way to proceed is to let us know if there are 1 or 2 logos that stand out and that you really like. We can then create different version of those logos with any of your new preferences and requests.
If you don’t like any of the logos provided in the first batch. It’s OK! You get UNLIMITED CHANGES during the development process, remember? Simply let us know what specifically you don’t like so we know what not to do next time. Also provide us with additional feedback such as examples of logos you do like.
It is also helpful to give us feedback on every logo IF there is something specific you like or don’t like about them. For example:
- Logo #1: I really didn’t like this style at all
- Logo #2: This one is my favorite, but the green is not dark enough, the slogan should be bolder
- Logo #3: This is is great too, but can you reconfigure it so it’s more horizontal.
- Logo #4: The only thing I like about this logo is the font
- Logo #5: Could I see this one is pastel colors and a star on the ‘i’ instead of a dot?
- Logo #6: This one looks too cartoony but I love the flower that you used
- Logo #7: Can you provide this one but with the fonts of logo #8
- Logo #8: I like this one but it doesn’t have enough movement in the speed element
OR
Simply tell us which logo(s) is your favorite and what specific changes (font/color/icon) you would like to see. For example:
- 9 – provide #3 with the font of #5 for the tagline
- 10 – provide 9 with a different color combination
- 11 – provide 9 without the background
Step 3: Review Your Second Batch of Logos and Provide Feedback
We will go to work and within 1 to 3 days provide you with another batch of logos based on your preferences. Follow the same instructions as in Step 2 and email us your comments.
Step 4: Provide Feedback to Fine-tune Your Favorite Logos
Follow same instructions as in Step 2 to provide feedback. You get unlimited changes during development process, this means we will keep on providing you with new logos until you are happy with the final results.
Step 5: Receive the Final Logo Files
Once we have approval on a final logo, we will prepare all your files and fonts. You will receive the following:
- Illustrator (.ai) – source file, vector, contains fonts, this is the file to use if a designer or printer needs to make alterations
- EPS (.eps) – this is the file to send to the printer, fonts are converted to outlines, it’s a vector file, you can blow it up as big as a house without losing resolution
- GIF – web format, low resolution
- Jpg – web format, low resolution
- PNG – web format, low resolution, transparent background
- TIFF – printing format
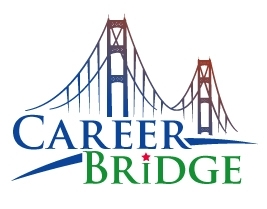
Below is an example of the entire design process from start to finish. You can see where we started and where we ended up with a final and approved design.
View Logo Designs in Other Fields
| CLICK to View Specific Logos: |
